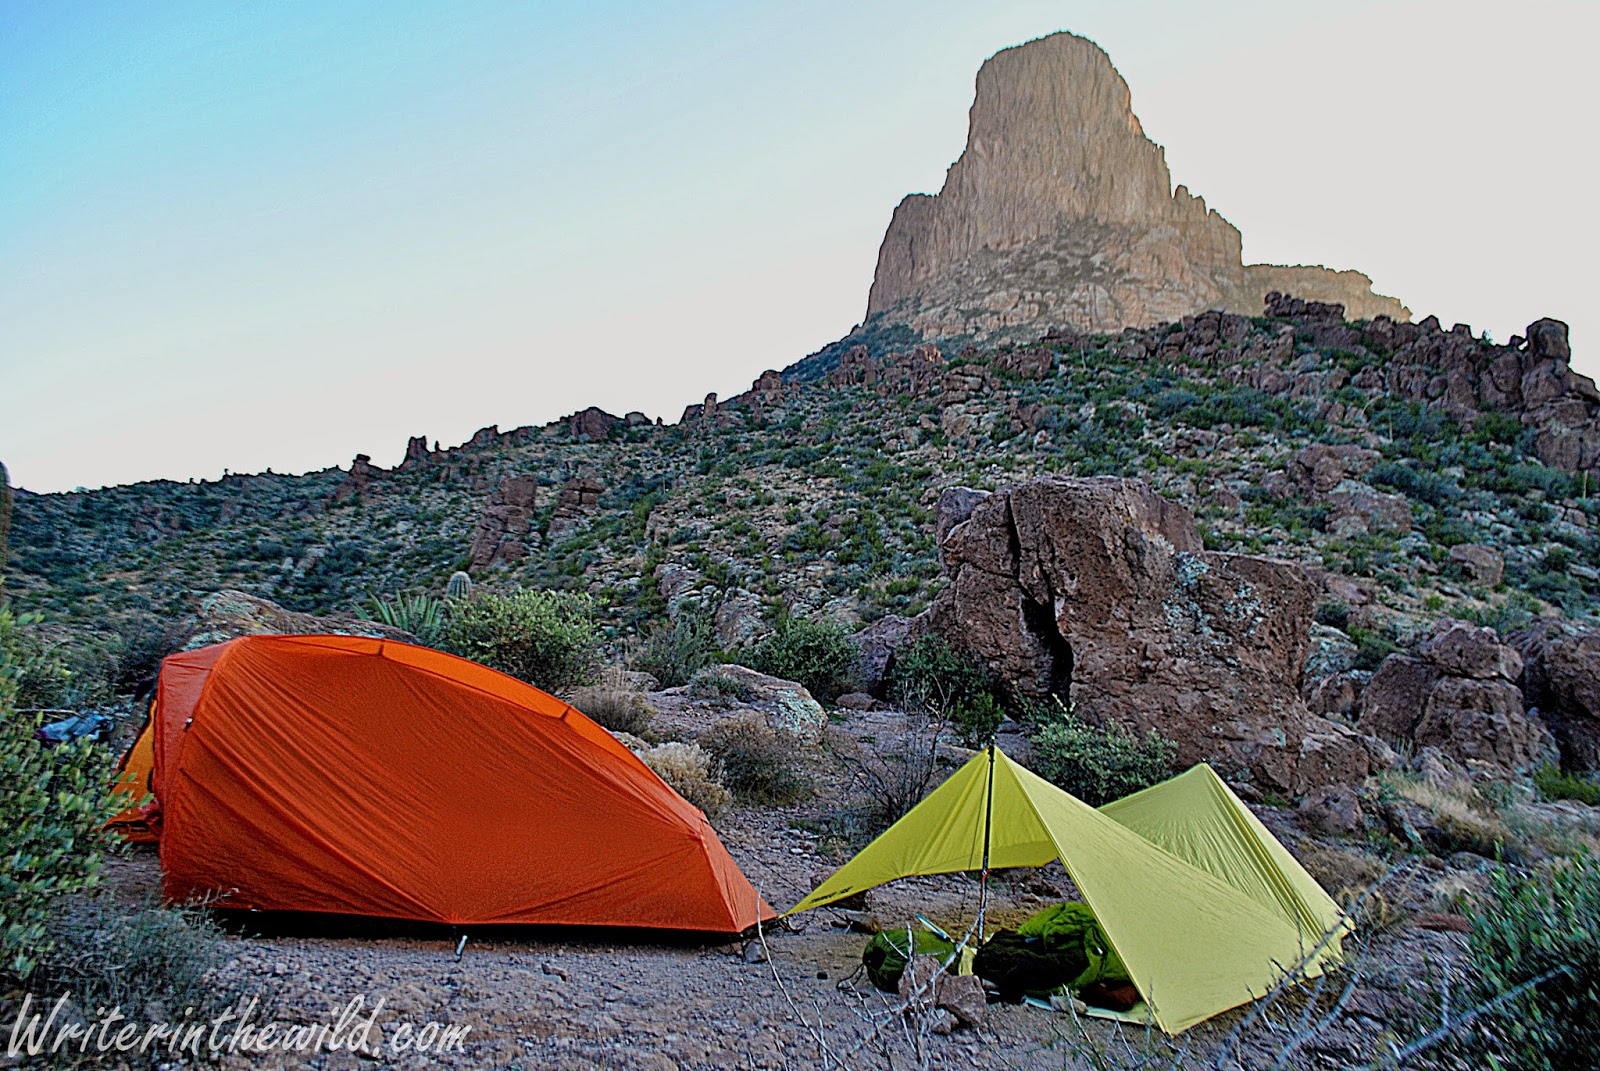
Showing posts with label ultralight. Show all posts

Monday, March 12, 2018

Top 5 Most Extreme Ultralight Backpacking Tips


I heard a story once about a first-time backpacker whose load was so heavy he began ditching his gear in the woods not even a mile in from the trail-head. He threw out his frying pan (but kept the pot), a lawn chair, a pint of Jim Beam (he took a drink first), a 15 million candle-power spotlight, and a field guide to flora and fauna of the Pacific Northwest (hardback of course). He learned the hard way what all of us experienced backpackers already know: carrying a heavy pack sucks. 

Many backpackers (including myself) have endeavored tirelessly to lighten the load, to ease the burden on our weary bones as we burn through the miles. One of the best ways to lighten up is to swap out your backpack, shelter and sleeping system (collectively known as “The Big 3”) for lighter counterparts. The problem is, good gear is expensive, and it seems the less an item weighs, the more it costs. Consider Hyperlight Mountain Gear’s Ultimade 2 pyramid tent. Made of Cuben Fiber, it only weighs 19 ounces, but costs a whopping $715.0... Yikes! 

In lieu of spending your entire savings account replacing the Big 3, there are other, shall we say, more unorthodox methods of getting that pack weight down. In my attempt to go lighter I have run across some strange stuff that people will do to shave ounces, (because as we all know; ounces equal pounds, and pounds equal pain!). I'm not referring to the more commonly known techniques like cutting the handle off your toothbrush or removing the backpack lid. I'm talking radical, cutting edge stuff so extreme that I don’t have the courage to try them out myself. I don't have the time or the space to list them all here, so I've decided to just present the top 5. Remember, I don't endorse these techniques, I'm just passing along the information strictly for informational (entertainment) purposes. 


Go Stoveless – I met a guy last year who thru-hiked The Arizona Trail without a stove. He ate cold dinners, and never enjoyed a morning cup of coffee. I know, it sounds terrible, but on a long-distance hike you could save some serious ounces by leaving your camp kitchen behind. On an overnighter however, you won’t have any reason to get up in the morning.

Don't Treat Water – No filter, no chemicals, no problem… right? This movement is picking up steam within the cult-of-ultralight. The theory goes that with experience you should be able to distinguish safe from unsafe water sources. While leaving your water treatment devices at home can potentially shave a few ounces (2 with the popular Sawyer Mini), is contracting the dreaded Beaver Fever really worth it?

Swap the Knife for a Razor – Apparently some gram weenies out there actually think a razor-blade is not only a perfectly good substitute for a knife (shhh, don’t tell Dave Canterbury), but “the ultimate in ultralight backpacking knives,” as one blogger put it. When I'm in the woods, I like to imagine myself as the second coming of Daniel Boone, so for me, not carrying a knife just doesn’t cut it.

Trim Your Zippers – An old backpacking buddy of mine (who shall remain nameless) told me once that to shave weight from his pack he trimmed all the pull tabs from the zippers on his gear. Now, I've heard of trimming the straps off you pack, or cutting the tags off your clothes, but cutting the pull tabs off your zippers? How much weight will that actually save? Needless to say, he had a tough time getting in and out of his tent.

Don't Bother with Toilet Paper – I found this gem in Mike Clelland's book “Ultralight Backpacking Tips”. The book is loaded with useful information for backpackers trying to go light, but when I came to tip number 116, I did a double take. “Liberate Yourself From Toilet Paper” the tip reads. Instead of TP, he recommends wiping your hind quarters with snow, leaves, pine-cones, sticks, and even rocks. I haven't tried any of these advanced ultralight techniques yet, but I will say that if you leave the toilet paper at home, lightening your load will be more important than ever.


This article is my original work. It was adapted from a piece I did on the now defunct The Mountain Blog called "Do What with a Rock". 

Thursday, March 26, 2015

Gear Review: Sea to Summit Escapist Tarp


Escapist in a windshield pitch.
The Dirt:

What is it? Ultralight backpacking tarp.

Comes with: Tarp, stuff sack, guylines, line locks

Materials: 15-denier silicone/polyurethane-coated Ultra-Sil® Nano 

Size: Medium - 6 ft. 6 in. x 8 ft. 6 in. Large - 10 x 10 ft.

Weight: Medium - 9.5 ounces. Large - 12.3 ounces

Price: Medium - $169.00. Large - $199.00.  REI.com

The Sea to Summit Escapist is my first true tarp. I've owned a couple tarp tents before: The Golite Shangri La and the Six Moon Designs Gatewood Cape, and I like the Escapist better than both of them. 

The medium Escapist is the perfect shelter for the solo backpacker who likes to go extremely light. I love it for the desert because in the desert you typically don't need shelter, and there aren't many mosquitoes. In that case I carry the Escapist more as a backup, or more commonly, a windbreak. In fact, every time I've ever pitched the Escapist, I've done so primarily as a windbreak. That's why this thing is so cool. It is very versatile. There are probably dozens of ways to pitch a rectangular tarp, and the Escapists packaging comes with a few ideas.
Pitch ideas.
The Escapist has eight reinforced tie-out points that can all take a trekking pole.  Each of these points come with cord adjusters and reflective guyline, so it's ready to go brand new. All these tie-out points really give the Escapist its versatility. 

Since I primarily backpack in the desert, I've never had the chance to pitch this tarp using trees. I've always had to use my trekking poles. However, with practice, a proper trekking pole pitch is very sturdy. The Escapist has withstood 30 mph winds on multiple occasions. The drawback in pitching with trekking poles is that you'll need to carry some extra cordage. I've found that an extra 10 feet of spectra cord is the perfect length, and doesn't weigh anything,


What's impressed me the most about the Escapist is its durability. On a few separate occasion camped in the desert I've experienced extremely high winds. Winds that were blowing so hard I had to stack boulders over my stakes to keep them in the ground. This tarp is strong and well made and despite its lightweight, has stood up great over the last 6 months. It's got no holes, tares or any other problems. 
Favorite windshield pitch.

One of the big drawbacks of pitching with trekking poles is the loss of head room due to the fact that your tied off into the ground. I found this a problem with the classic windshield pitch and the A-frame pitch. On those occasions high winds forced me to tighten the guylines, which resulted in a lowering of one section of the tarp. Usually the section in between the trekking poles. One way to offset this is by placing your poles in adjoining points. No matter how much you tighten the pitch, you'll never lose headroom. Bottom: In the classic windshield pitch you can see that I lost headroom after tightening the center guyline. If the center guyline were anchored to a tree it wouldn't have been a problem.
Classic windshield pitch.
There is a learning curve with the Escapist. Don't expect to purchase this shelter and set it up perfectly the first time (unless you are experienced with this shelter type). It's nothing like a freestanding tent. It takes practice. To me, the versatility and absurd weight savings are well worth spending a little extra time in camp with set-up. Using the Escapist I found that I was more particular than ever about set-up location and site preparation. 
A-frame

Bottom Line 

The Sea to Summit Escapist is great for anyone stepping into the world of ultralight backpacking. Its versatile, strong, light and packs extremely small. Set-up takes practice, but learning the different pitches is half the fun. 

Note: It rarely rains in the desert, and I never got a chance to use this tarp in rain. 


Modified A-frame

Thursday, September 18, 2014

Gear Review: Outdoor Research Helium II

Outdoor Research
Helium II
"Rain gear may have missed the final cut on the Mountaineer’s list of Ten Essentials, but that doesn't mean you shouldn't always carry some with you. I never venture out into the wild without at least a rain jacket. I've been down misery road too many times before. I remember once in the Blue Mountains trying to sleep in a wet sleeping bag. I tossed and turned and shivered. I prayed for morning to hurry its arrival. Another time backpacking in Glacier National Park I skipped the rain pants to save a little weight. Sure enough an arctic storm blew in, and for three days straight I was dumped on. My rain jacket kept my upper body dry, but my legs were constantly soaked. I learned the hard way that staying dry is important even if it means carrying a little bit extra."


Friday, February 21, 2014

Gear Review: GoLite Imogene UL2

GoLite Imogene UL2 pitched with rainfly
 After lugging around a 5 pound 2-man tent for the better part of half a decade, I decided it was time for an upgrade. Really, I probably could have held out for another half decade with my REI Quarter Dome T2. I loved that dang tent. But when I saw the new GoLite Imogene UL2 my jaw dropped... 2.6 pounds... $250.0... Freestanding... Was I dreaming?

Let's backtrack for a minute. When I purchased the Quarter Dome T2 back in 2009 it was one of the lightest 2-man tents on the market. In fact, it seemed as if back then the big gear makers were just jumping on board the ultralight bandwagon, and most of the 2-man freestanding offerings hovered around 5 pounds. The Quarter Dome T2 was one of the few below 5 pounds, and that's why I bought it. But I paid big time for that listed 4 lb 8 oz weight (actual weight was higher). With the footprint, I think I paid around $360.0, which was actually a pretty good deal at the time compared with other sub-5-pound 2-man tents. Thinking I got the best freestanding tent (and certainly lightest) for my budget, I was content to ride the Quarter Dome T2 into the sunset.

Ultralight gear has come a long way since '09. I always keep my eye on the newest gear and what's always kept me away from "the latest and greatest" was the price. I don't have the budget to upgrade my gear every time something better comes along, and even though a lot of really lightweight freestanding tents have hit the market since then, I've kept my distance... Until the GoLite Imogene UL2 came around.

When I first pulled this tent out of the box I was surprised how light and how small the package was. The 20 denier ripstop nylon floor felt a little too light, and too thin, as did the fly. I had my doubts about it's durability, but pitch after pitch, night after night, it's held up fine. The first thing I did after I received this tent was weigh it. I know from experience that a manufacturers listed weight can be very generous. In the case of the Imogene UL2, the 2 lb 6 oz listed weight is right on the money.

The pitch on this tent is entirely different than what I'm used too. The pole system consists of one long main pole that runs along the spine, a shorter pole in the front that forms the shape of the door, and a small one for the back that creates a foot box. The smaller poles are attached to the main pole via two hubs, which makes things very simple for both pitching and stuffing into the sack. While this is a freestanding tent, to create the full box shape in the back of the tent (where your feet go) the tent needs to be staked in the back. Certainly this hybrid design is one reason why this tent is so light. Instead of another bowed pole in the back to form a tube like shape, it relies on a small horizontal pole that's probably around a foot-and-a-half in length that instead stretches the tent into the desired shape with the help of two adjustable guy lines on the corners. There just isn't a lot of pole in this tent, and in fact poles only touch the ground in 3 places: twice at the door, and one in the center of the back. It's actually much more simple then I'm describing, and the entire pitching process took me less than 5 minutes on my first try.

Pitch without fly
 Attaching the fly is elementary, as long as you have experience pitching double-walled freestanding tents. The only caveat is that in order to get a completely taut pitch, and create space between the fly and the tent in the back at the foot box, you have to guy the center line high, say at least a foot off the ground. In the desert this isn't always practical, but in the conditions I've encountered it hasn't made much of a difference. Speaking of conditions, living in the Sonoran Desert they are mostly dry. Usually the only adverse weather I encounter is wind, which for the Imogene UL2 hasn't been a problem. On one trip further north I managed to get rained on for a few hours, and the tent performed brilliantly. No leaks. No condensation. No problems.

One of the ways GoLite managed to cut weight on this thing was through a very narrow design. At 78 inches long on either side, and 30 inches wide at the door, there is just room enough for two. Sarah and I find the space perfect, but we don't mind getting cozy. I haven't shared it yet with someone else my size, but when I do, it'll be tight no doubt. The beauty of this tent is that for two people it's ultralight, and for one it's just as light. I've camped and backpacked with this tent solo plenty of times, and I have to say for one person this could be exactly the space you're looking for. You'll have plenty of room to maneuver and store your gear without feeling claustrophobic, and at 4 x 19 inches packed, you won't feel guilty taking it. For two people, gear storage is tight. Normally we don't keep our gear in the tent so it's not a problem for us, but between the tight quarters and the 5.7 sq. ft vestibule space, it's not made for storage. Yes, the vestibule is small, but it should work for you as long as you and your hiking partner don't normally store your backpacks their.

Lots of space as a solo shelter
 Perhaps the best thing about this tent is the price. I paid $250.00 about 7 months ago. That price can be half of what you would pay for a similar size/weight tent from other manufactures, and it's as functional as it is light. Everything works exactly the way it should, and so far it's held up great for me. If you want top-of-the-line quality and ultralight weight, and don't want to pay out the wazoo, I would highly recommend GoLite Imogene UL2 either as a 2-man, a 1-man, or both. My only real beef is the hunter's orange color of the rainfly. Not a big fan of bright colors in the backcountry, but that's just nitpicking.

Imogene UL2 in the rain

Friday, September 6, 2013

Do What With A Rock?


How far are you willing to go to cut weight from your pack?

... and why am I holding this rock?

Check out the full story on The Mountain Blog
http://www.mountaingear.com/themountainblog/2013/09/do-what-with-a-rock/

Monday, July 8, 2013

Boots or Shoes?

In my last blog I mentioned that due to my busy schedule I've been really inactive the last couple months. Well, that wasn't entirely true. I've been writing steadily for The Mountain Blog at Mountaingear.com, and I wanted to share one of the stories I wrote last month on some of the benefits of switching to shoes from boots. Check it out!

http://www.mountaingear.com/themountainblog/2013/06/boot-or-shoe-whats-for-you/

Thursday, March 28, 2013

Gear Review: Solo Stove

Solo Stove
Cooking with the Solo Stove

I find the idea of a wood burning stove very appealing. Maybe because it feels like it brings me closer to the wilderness travelers of yesteryear, cooking as they did... I think fire in general can conjure up those primal feelings in people, and in a way, that's also why we hike. To connect not only with nature, but our past as well. 

You can bet this nostalgic affection for fire played a part in my impulse purchase of the Solo Stove a couple months back. The notion of cooking over an open flame compelled it. I pictured myself, not just a backpacker, but a mountain man... I know, that's really stretching it, but I'm feeling very romantic as I write this.

The stainless steel Solo Stove (according to Solo Stove) is a "natural convection inverted downgas gasifier stove". The double wall design "channels" air through the intakes at the bottom to the fire box, and sends warm air up between the walls, and out smaller holes on the top, and back into the fire box. I know, it all sounds very technical for a wood stove, but what it all means is that it burns and heats very efficiently. 

The Solo Stove is two pieces, the stove, and a removable cooking ring. The ring flips upside-down and fits inside the stove for easy storage. The whole thing is very solid, and seems to be built really well, all thanks to what Solo Stove calls "one piece construction". Which basically means that the stove is built from a very few solid pieces of stainless steel, with the smallest amount of welds and seams as possible. It makes for a very durable piece of equipment.

For a stove, I guess you could say that its big when compared to a canister or alcohol stove, but keep in mind, with the Solo Stove you don't need to carry fuel. That was a big selling point for me. The idea that I not only don't need to carry fuel, but I don't have to worry about running out of fuel either. The Solo Stove will burn just about anything too, especially after its lit. A lot of my hiking is done in the Sonoran Desert here in Arizona, and I found that cactus wood burned just as well as wood from a tree. The firebox in the Solo Stove gets so hot, that just about anything that fits inside will burn.

The Solo Stove is supposedly designed to fit in most cook pots for easy storage. Since I only own one pot, my Solo Stove rode in my GSI Pinnacle Soloist pot, and it was a perfect fit. Although I would recommend against using this pot, as the large flames from the Solo Stove has the potential to melt the plastic lid and rubber coated handle of the Pinnacle Soloist pot. What I did was just adjust the position of the pot on the stove if I saw a flame getting too close. I didn't have any melting, but the orange rubber coating on the handle did turn black in places.

Firing up the Solo Stove is really easy. First, collect some wood and/or other organic materials from around your camp. You need a lot less than you think. To start it, I found the best way is to take off the cooking ring, place a layer of small sticks on the grate, and place your tinder on the sticks. Once the tinder is lit, put the cooking ring back on, and start feeding it smaller sticks. If you have fire building experience, this process will be quick and easy. Once you have a good flame, place your pot on the cooking ring. From here on out, its just a matter of feeding the stove to reach a boil, but you have to pay attention. The Solo Stove is not a stove you can light and walk away from. It needs to be fed. The firebox gets so hot, that neglecting the stove even for a couple of minutes can result in the fire going out because the wood inside has burned up. At the opposite end, overfeeding the stove can smother it, but once you have it figured out, keeping the fire burning is easy. My first use with the Solo Stove, I reached a boil in 5 minutes. I have cooked for 2 with no problem, and have sustained a boil easily for 15 minutes... All using fuel that I found on the forest floor. 

That is really the best thing about this stove. Its easy. Its simple. Its minimalist.  No mechanical, or electrical parts. No gas lines or fuel cans. In short, nothing that could fail, because as Murphy's Law states, "what can go wrong, will go wrong", and when you're in camp after a long day on the trail, you want your stove to work.

Not that everything is perfect with the Solo Stove. For starters, its relatively heavy at 9 ounces. For me, the weight is fine, but for the ultralight crowd, its probably too heavy. Clean-up can be a pain too. You'll have soot build up at the bottom of your pot that will need to be cleaned before you pack up (unless you want soot in your pack). I would recommend carrying a small camp towel for this purpose. Since its an open flame, you wont be able to use it in some places (like Glacier National Park for example) that don't allows fires in the backcountry. There may be some places in the backcountry where you just cant find any fuel. I don't know where those places are, but I'm sure they exist. Finally, in a very wet environment  you will probably have difficulty with this stove just like you would building a fire. To what extent I don't know, since all my tests were in dry conditions (I live the desert remember?).

Overall this as badass little stove. Its easy, simple, efficient, and fun to use, and will work excellent for your backcountry cooking needs.


Solo Stove
Solo Stove set-up. You need a pile of small sticks... And notice no smoke coming from the stove.